Pages

Showing posts with label Birthday Wishes. Show all posts

Sunday, 17 March 2013

Birthday Wishes

Wow! I was picked for the Top 6 at Mojo Monday  for my Nature Walk card, So I'm really chuffed and send a big "Thank You" to their DT.

Today's card is for three challenges. The first is CAS Colours and Sketches who have this sketch, 


then Color Throwdown with these colours,

and lastly, Less is More who want a CAS project with a FRAME


Here is my card

I stamped the frames onto white card in Pumpkin, and cut them out. On both I stamped some leaves, and in one I also stamped a sentiment. I then stamped the tall flowers in opposing corners of some white card and layered this onto some card on which I'd drawn a border of Crumb Cake around the edges. I wrapped some orange organza ribbon with a bow, around the centre of the card before adding the frames on 3D pads. I made the roses in Pink and Crumb Cake, cutting them out and arranging them onto both frames, with one rose on each being raised on 3D pads for dimension.

Supplies :
Card = White card and base FMS
Stamps = Baby Blossoms, Flowering Flourishes, and Verve sentiment
Inks = Crumb Cake, Pumpkin Pie, Certainly Celery, and Blushing Bride
Tools = Stamp-a-ma-jig
Extras = 3D pads and ribbon

Today is my first day up and out of bed after my hospital visit, and I'm not feeling too bright, but there is the Australian Grand Prix on this afternoon to cheer me up! 

Thank you for all your comments, and I hope you can drop by again soon


Saturday, 2 March 2013

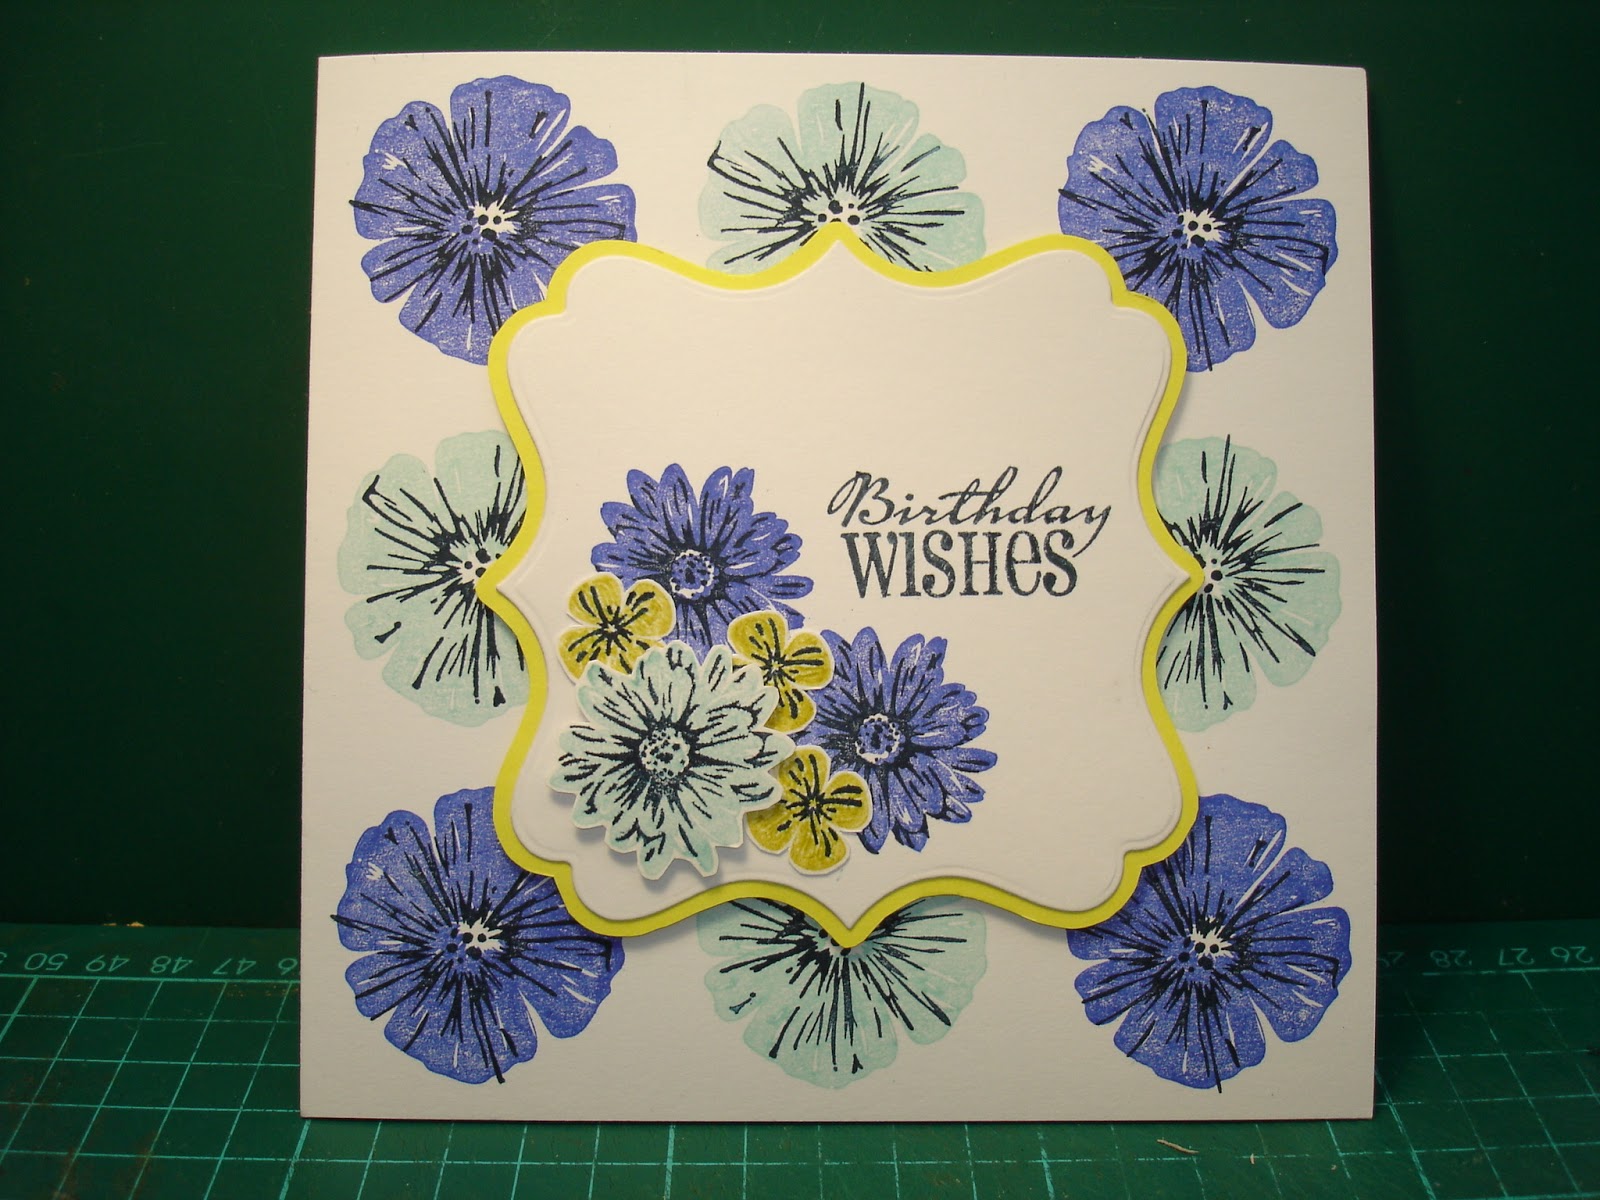
Flower Power

Well, after leaving my card half finished last night, I've just finished it this afternoon. I will be entering it into the following challenges.


Firstly, this sketch from CAS Colours and Sketches,

secondly, these colours from ColourQ,
and lastly, at CAS-ual Fridays  where we have to stamp our backgrounds.


This is my card


To position and build up the two-step blue flowers in the background, I have used the Stamp-a-ma-jig. I,m useless and cannot do the detail stamp without it as I never seem to be able to match the lines onto the right place on the petals. The detail stamp was coloured with my new Midnight Muse Write Marker which is so juicy it looks almost black in the photos, but it is dark navy ( honestly)

Supplies :
Card = Summer Starfruit, and White card FMS
Stamps = Greenhouse Garden and Verve
Inks = Midnight Muse, Summer Starfruit, Brilliant Blue, and Pool Party instead of Cool Caribbean
Tools = Stamp-a-ma-jig, Big Shot, and Nestabilities
Extras = 3D pads


Thanks for looking at my blog today, and I would love to hear what you think?

Bye for now


Saturday, 28 April 2012

Bird in the Blossom


Today my card is for the  CAS-ual Fridays challenge where they want to see a CAS project with  Flowers or Trees


I've combined the 2 for my card and made a blossom branch of a tree. Here's my entry


After stamping the bird, I masked her with a Post It and stamped the blossom branch under and behind her. I used pale pastel Spring colours, but my camera doesn't do them justice, so I hope you can see her OK.


Recipe :
Card = White card base from my stash
Stamps = Whimsical Wings, Garden Silhouettes, and Verve
Inks = Soft Suede, Blushing Bride, Pear Pizzazz, Pool Party, and Crushed Curry
Tools = Stamp-a-ma-jig


I hope you like it, and thanks for dropping by today.


Sunday, 20 November 2011

Butterfly Birthday Wishes

Today I have made a card that I will be entering into two challenges.

The first is the Mojo Monday #215
where they have this sketch

and the second is Color Throw down #168
where we have this 4 colour palette

Here is my card


First I put some red card through the BS to emboss flowers on it, and then mounted it on a cream card. I  then embossed some grey, yellow, and off white cards in different folders, sponged their edges and matted strips on the right hand side of the card .


Here's a closer veiw of the different embossing textures, although it's not very clear on the red card ( I forgot to use the tan matt!!)

My BS was working hard for this card as it then cut 3 multi layered yellow flowers and a large off white butterfly. If only the BS could do all these things without me having to crank the handle !!!

  
The flower parts were layered up, the large stuck flat, and the 2 smaller ones with 3D pads for dimension, and then arranged at the ends of the strips with some grey leaves cut with the 2 step Bird punch. The butterfly's wings were sponged with yellow and red inks and stuck between the flowers by its grey sponged body to leave the wings dimensional. To finish the sentiment was stamped in red on the off white card, 3 red gems added to the flower centers, and 3 yellow gems added in the bottom corner.


Recipe : Card = Real Red ( I don't have Red Riding Hood), So Saffron, Basic Grey, Very Vanilla, and a cream card from my stash
Inks = Real Red, So Saffron, and Sahara Sand ( I don't have grey ink)
Stamps = Verve
Tools = Big Shot, CREA lies Flower Die, Marianne Butterfly die, Sizzix Texture flower plate, Swirl, Budding Vine and Butterfly Kisses embossing folders, and 2 Step Bird Punch
Extras = Red and yellow gems


Well this took quite a while to piece together, what do you think? I hope you like it

For some strange reason Blogger wont allow me to post my Labels list, so when it's behaving again I'll add my lists


That's me for today, and I've got some busy days ahead, but I'll be back as soon as I can.

Thanks for dropping by


Sunday, 30 October 2011

Birthday wishes

Today , while watching the Grand Prix, I've made a card for the ColourQ #108 challenge where they have this photo for colour inspiration. The challenge ends at Noon so I hope I make it in time!!!


I've decided not to go with the Halloween theme, and have made a floral Birthday card instead.


Here it is


I stamped the large flower in black on peach and cream card, and then cut out the different segments before sticking them together with 3D pads for dimension. The same was done with the smaller flowers on yellow and cream card. The sentiment was stamped on cream card layered on peach card with some black ribbon behind it which was then tucked in behind the layers of black and cream card matts. The cream matt had been through the BS in an embossing folder. 


 Recipe :  Card = Basic Black, So Saffron, Daffodil Delight, Peach Parfait, and white card from my stash
Stamps = Playful Petals and Verve
Tools = Big Shot and Budding Vine embossing folder
Extras = Black ribbon and 3D pads


I'm off Trick and Treating later dressed as a Witch, and Nathan is going as a skeleton!!  I'll let you know how it goes.


Thanks for looking at my blog today, and I'd love it if you have time to leave a comment.

I'll be back soon


Friday, 7 October 2011

Resisting Autumn

This afternoon I have finally finished the card I started at my friends yesterday.

I am going to enter it in the Make My Monday challenge where the theme this month is Autumn, and this week it requires the use of a "resist technique". Also I will send it to the St Luke's Charity Cards Challenge where they want "something for the boys".

Here is the card


I started by randomly stamping Oak leaves and Acorns in Versamark on some silk card, and then brayered over it with a brown and green Big and Juicy ink pad. I did the same to the lone oak tree. The silk card was then cut into the large matt and small tag and layered onto some brown card. Some beige ribbon was wound around the large matt before it was stuck on the base card. To make the card more masculine two star shaped brads were added to opposite corners of the tree panel, and the bottom of the tag below the stamped sentiment. The tree, and tag were positioned on 3D pads to add dimension. I then stamped the oak leaf and 4 acorns onto brown card and heat embossed them with gold powder, cut out, and placed on the card on 3D pads. The finishing touch was a bow to attach the tag to the tree panel.


Here is a close up of the oak tree to show how the Versamark resists taking in the brayered ink to leave a ghostly image.


I'm quite pleased with the result and hope you like the card too.

Recipe : Card = Clarity silk card, SU Chocolate Chip, and cream card from my stash
Inks = Versamark, Big and Juicy Spice, and Chocolate Chip
Stamps = Lovely as a Tree, All Natural, and Verve
Tools = Speedball Brayer and heat gun
Extras = Gold embossing powder, 3D pads, beige ribbon, and gold star brads

It's a Grand Prix weekend but the TV coverage starts at silly o'clock in the morning so I dont think I will be crafting while watching it in bed!!

Hope you have a good weekend whatever you're doing, and I'll be back soon.


Wednesday, 28 September 2011

Nathan's Birthday cards

My nephew Nathan is 4 years old on Friday, so as well as the Spiderman card from me, I've made a Lightning McQueen ( from Disney's "Cars" ) and a Numberjack 4 card from his parents and grandparents.

Here they are


Nathan has been doing a lot of street dancing (well he thinks he is!!) lately and he does a move which he calls "a robot walking backwards", hence the little bird doing the same ( and its covering an ink smudge )


They are plain and simple, and I hope he likes them..........mind you he'll be too busy with his presents to care what the cards look like!!

No other cards I'm afraid, as yesterday at my friends I could not think about crafting as my mind was focusing on my poor old neighbour who still isn't well, and his son is going back to London and leaving his dad alone. I wont bore you with anymore tales of woe, but I'm not a happy bunny he's going

Hope to be back in the crafting saddle soon, and thanks for bearing with me.