Pages

Showing posts with label Swirl embossing folder. Show all posts

Saturday, 18 February 2012

Happy Birthday


Today's card is for 2 challenges.

The first is Stampin Royalty where they have this sketch


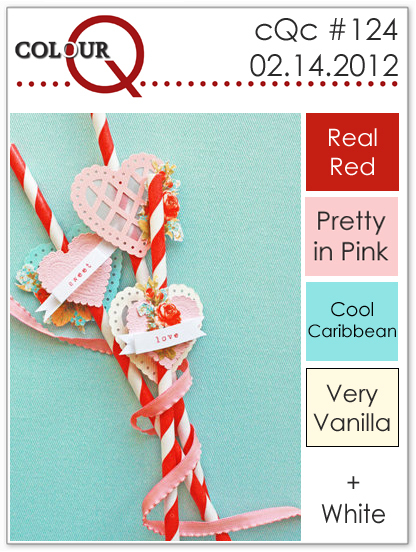
and the second is ColourQ where they have this colour palette


Here is my card


Recipe :
Card = Very Vanilla, Real Red, Pretty in Pink, and cream card from my stash
Stamps = Baroque Motifs, Ornate Flowers, and Verve
Inks = Real Red, Pretty in Pink, and Pool Party ( I don't have Cool Caribbean )
Tools = Big Shot, Nestabilities, Cuttlebug Swirl embossing folder, Martha Stewart border punch, and Readicut 2 step flower punches
Extras = 3D pads and white Pearl gems


I wasn't too sure about the blue flower stems and Baroque Motif at first, but I think because they are so pale they can pass as bluey green foliage. What do you think??

I've had a terrible few days............On Thursday night, I found my old neighbour ( a widower who is on the verge of  Dementia) in a Diabetic coma again and had to get the ambulance out. Thankfully, he is still in hospital and the Dr.s have found more complications that I wasn't aware of, so he is now getting the right treatment he needs. I hope for his sake he will be there for a while yet, so that some Home care can be sorted out for when he comes home, as his son lives in London and there is no one else other than me.

I hope to get some more crafting done in the next few days, but who knows what will happen??

Thanks for looking today


Tuesday, 22 November 2011

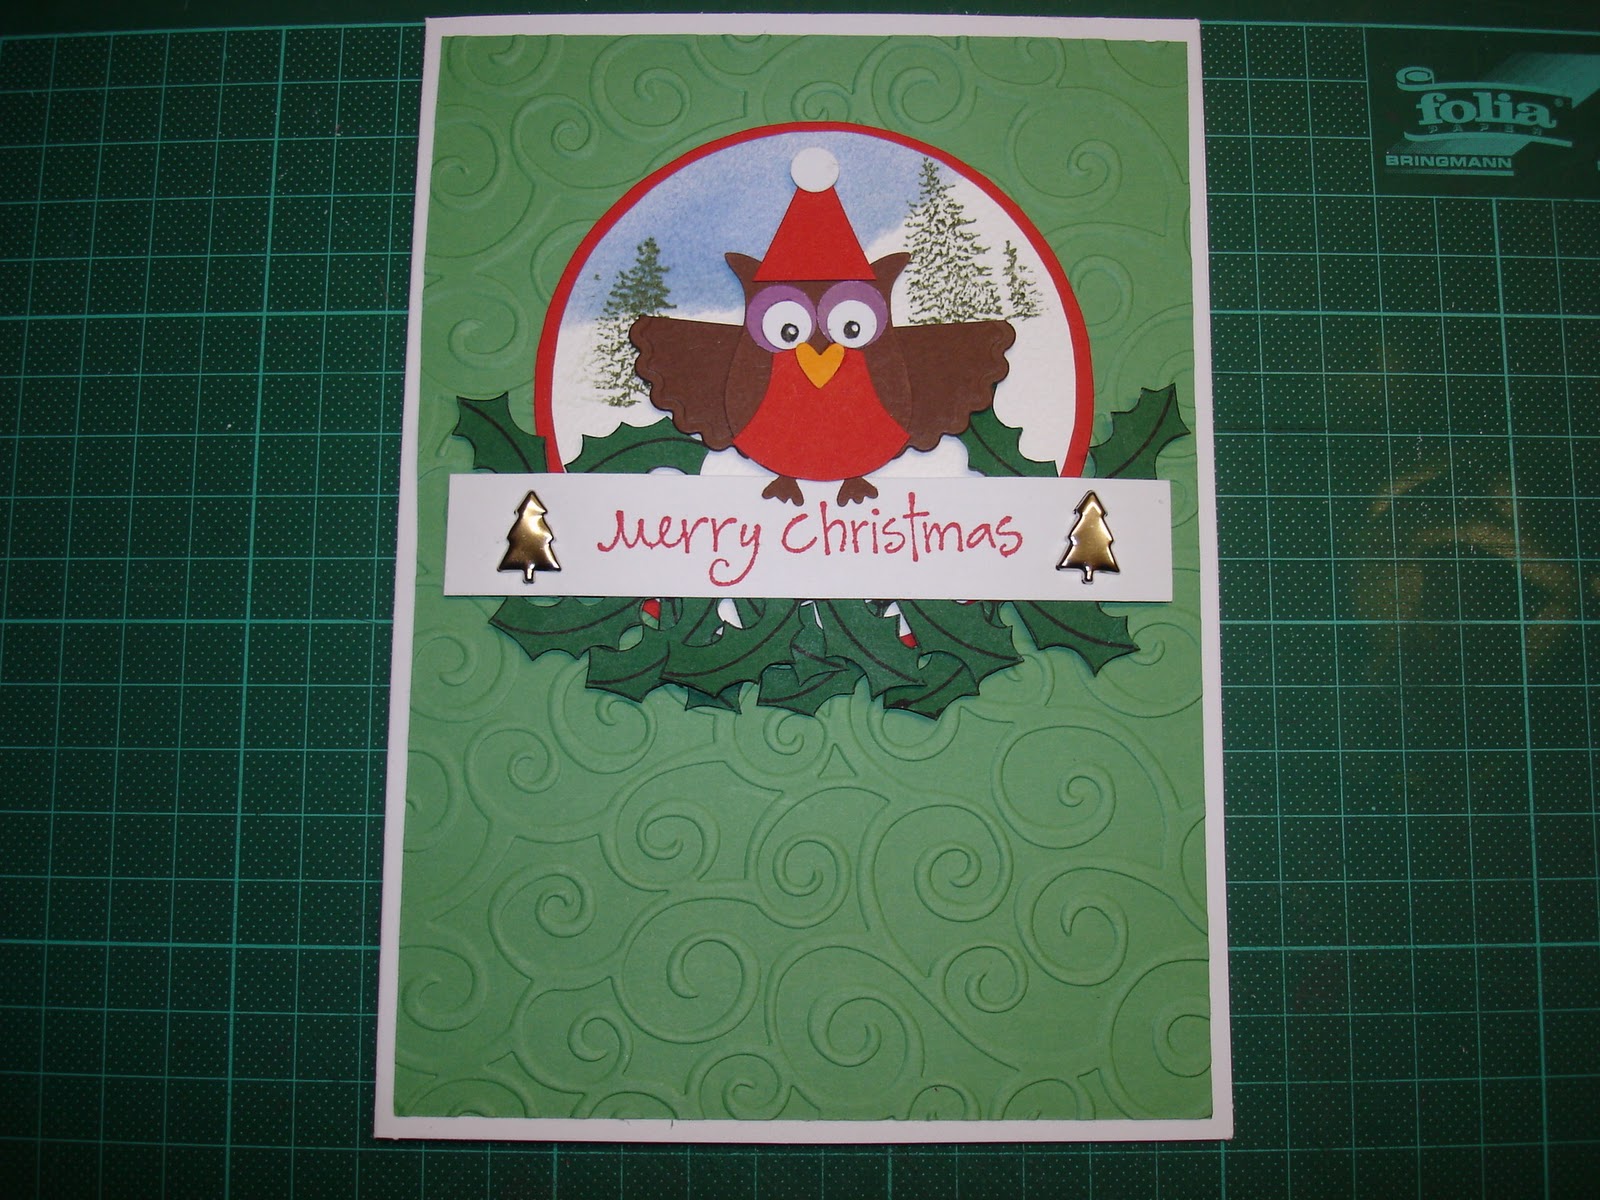
A Christmas Hoot!

Yaaaayy!! I've come Top 3 at the  Simply Stampin Challenge again. I'm so pleased and must say a big "Thank You" to the DT for choosing me.

The card I've made today is for the Clean and Simple challenge #167 where they have this sketch.

I thought for a change I'd put my stamps aside and use the cute owl I made with Jacqueline's punch a while ago.


Here he is in his Santa suit, isn't he cute?


The card started with some green card that was embossed in the BS and placed on a white card. I then sponged a blue sky over a snowy hill scene on a white textured card circle, which was then matted onto a red circle. I then stamped some holly sprigs numerous times on some dark green card and cut them out to sit along the bottom of the scene. I then stamped the greeting on some white card and placed a tree shaped brad at each end. This was then raised on 3D pads for dimension and also somewhere for the owl to perch.

Recipe : Card = Wild Wasabi, Garden Green, Real Red, Chocolate Chip, Lavender Lace, Pumpkin Pie, Whisper White, and white card stock from my stash
Stamps = Dovecrafts and Docraft
Inks = Bashful Blue, Always Artichoke, Real Red, Basic Black, and White Gel pen
Tools = Big Shot, Swirl embossing folder, Owl Punch
Extras = Tree Brads


Thanks for dropping by today, and as tomorrow is my Super Hero day with Nathan,  I'll be back in a few days time.


Monday, 22 August 2011

Christmas in August


Hello, that's another week gone, and another week closer to Christmas, so I thought I'd better make a start on my festive cards.


Over at Clean and Simple they have joined up with Jingle belles rock this week and Christmas is also in their minds, and they have given us this sketch as a starting point. I decided to flip it onto its side for my project.


 Cas-ual Fridays challenge is to use any type of embossing, dry embossing, heat embossing or embossing folders


Combining these 2 challenges, I came up with this CAS card


I started with a white card, and used a punch to create a border in gold card, on which I layered some red card that had been through a swirl embossing folder in the BS. I then heat embossed 3 Wise men that had been stamped onto silk card and cut it with a label die before mounting on gold card also cut with a label die. I then stamped the North Star onto silk card and heat embossed it. The Star and Wise men label were stuck with 3D pads to give added dimension. For the sentiment and small stars I've used gold Peel offs as stamping on the embossed card distorted the words.


Recipe : Card = White and gold card from stash, SU Poppy Parade, and Clarity silk card
Stamps = Clarity
Inks = Versamark
Tools = Big Shot, SB Labels nestabilities, Cuttlebug Swirl embossing folder, Martha Stewart punch
Extras = gold embossing powder and gold peel offs from stash.


Sadly I've not had much time for any crafting again this week and I've had a busy weekend as we did a car boot on Saturday. It wasn't as busy as 2 weeks ago when Mum and Ali did their first one, but then the weather was a bit unpredictable with dark black clouds one minute and then blue sky and hot sun the next. I hadn't realised how strong the sun was until that night when I took my wrist splints off and saw that I had tan lines!!! I now look like I've got white fingerless gloves on ( the photo doesn't show it very well, but I'm sure you get the giste)


Well that's it for now, Thanks for stopping by and I'll be back soon.


Sunday, 7 August 2011

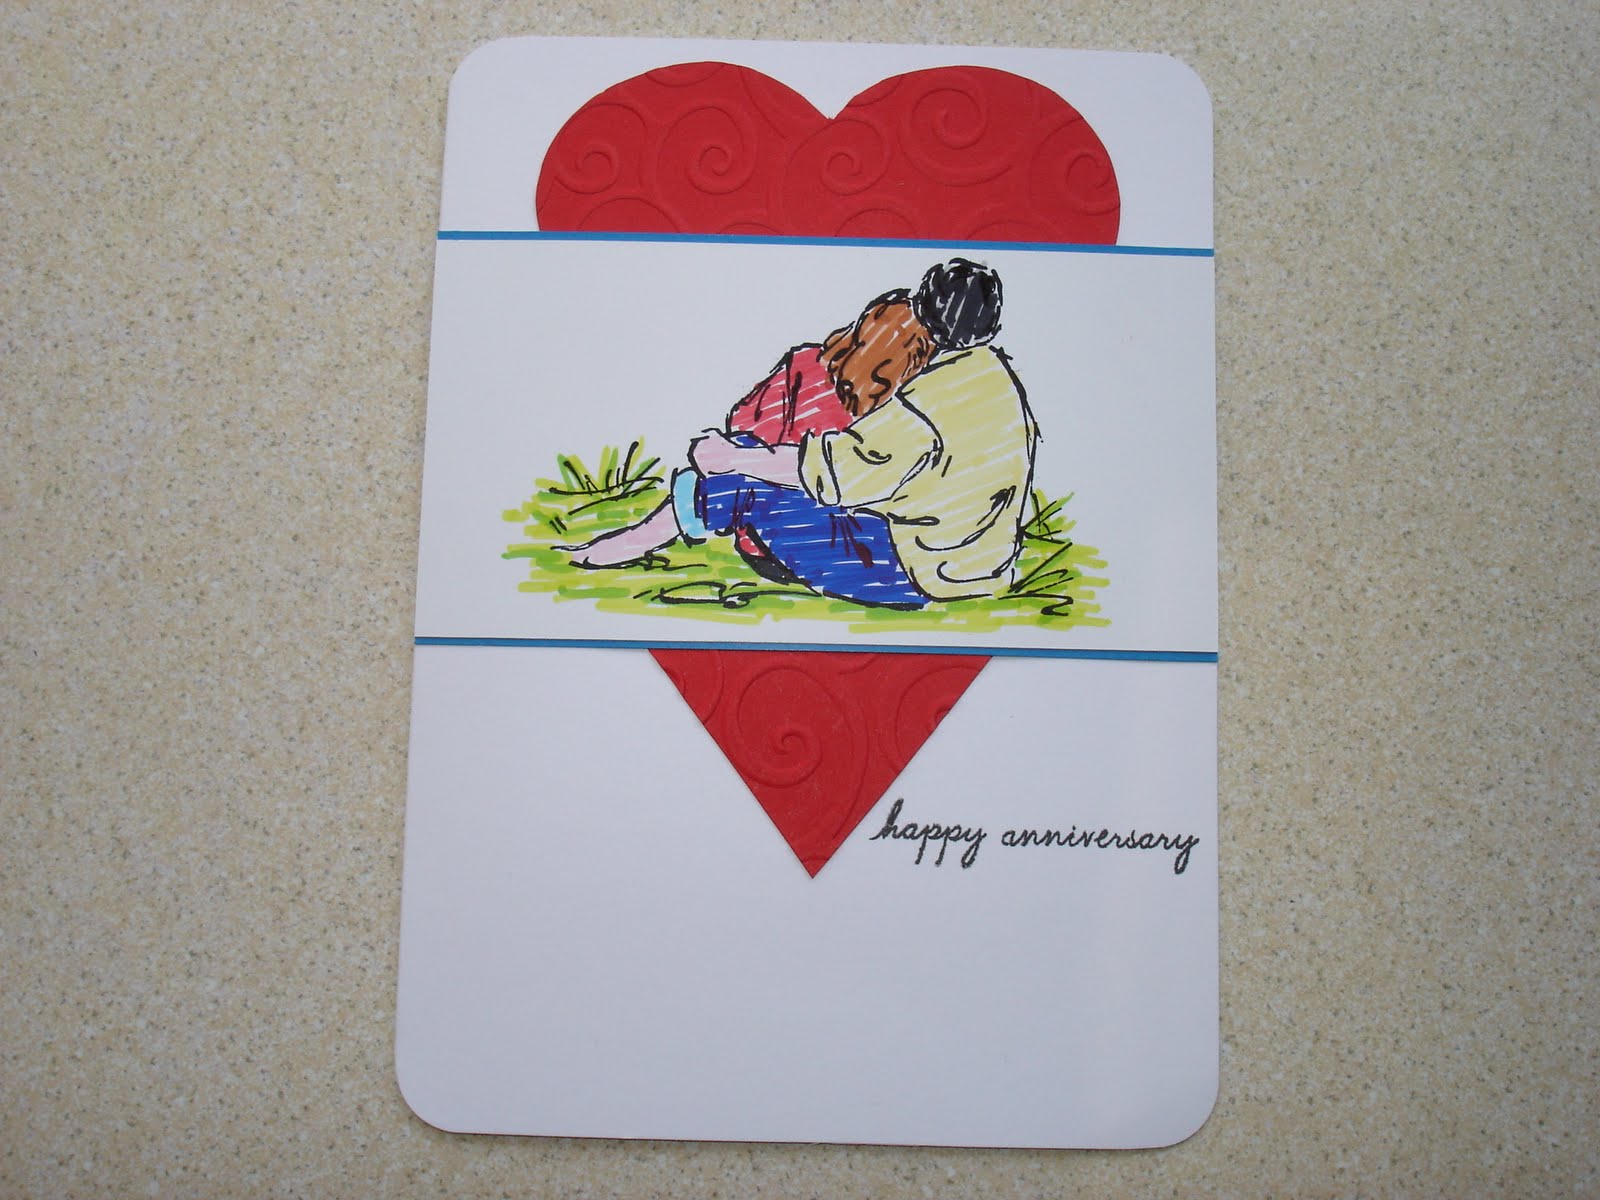
Summer by the sea Anniversary

Hello again!

I've had time today to do another quick card, this time for the Clean and Simple challenge  (FTL 152) with this sketch as the base.


So, I started with some Clarity silk card stock and stamped the loving couple from SU Summer by the Sea in black Adirondack ink. I coloured them in roughly with Pro markers and layered them onto some Pacific Point card. I then drew a heart free hand on some Real Red card and put it through the BS in a Cuttlebug swirl embossing folder. I cut the heart in half and stuck the couple across the middle of it before layering it all on a white card from my stash that has had the corners rounded. It was finished off with a Basic Black Woodware sentiment stamped at the bottom of the heart.

What do you think?


Recipe : Card = SU Real Red, Pacific Point, Clarity Silk card, and white card stock from my stash
Ink =  Black Adirondack and SU Basic Black
Stamps = SU Summer by the Sea and Woodware sentiment
Tools = Big Shot, Cuttlebug embossing folder, and Pro markers


That's it for today, thanks for dropping by and I hope you can come again soon.