Pages

Showing posts with label Budding Vine Embossing Folder. Show all posts

Friday, 11 May 2012

Watch the Birdie!!

My heating engineer has only just left ( 5.22pm ), thank goodness I didn't have anywhere important to be today!!

While waiting for him I had chance to do another card.


 It's for the Clean and Simple challenge where they have this sketch


and CAS-ual Fridays where they want to see feathered friends


 This is what I made


 I still had my blue and green inks and sponges on my desk so I sponged a label and layered it on a dark green one. I then stamped and coloured the dovecote on some white card, cut it out and stuck it on the label. I then stamped the white doves in grey ink, cut them out and added them to the picture, with the flying dove on 3D pads overhanging the scene. The sentiment was added, and the whole thing was added to some green card that had been embossed. Simples!!!


Here is a closer view of the white doves. I have softened them with an Aqua painter and some grey ink. I tried stamping them in black at first, but they looked too severe so I used the grey.


Recipe :
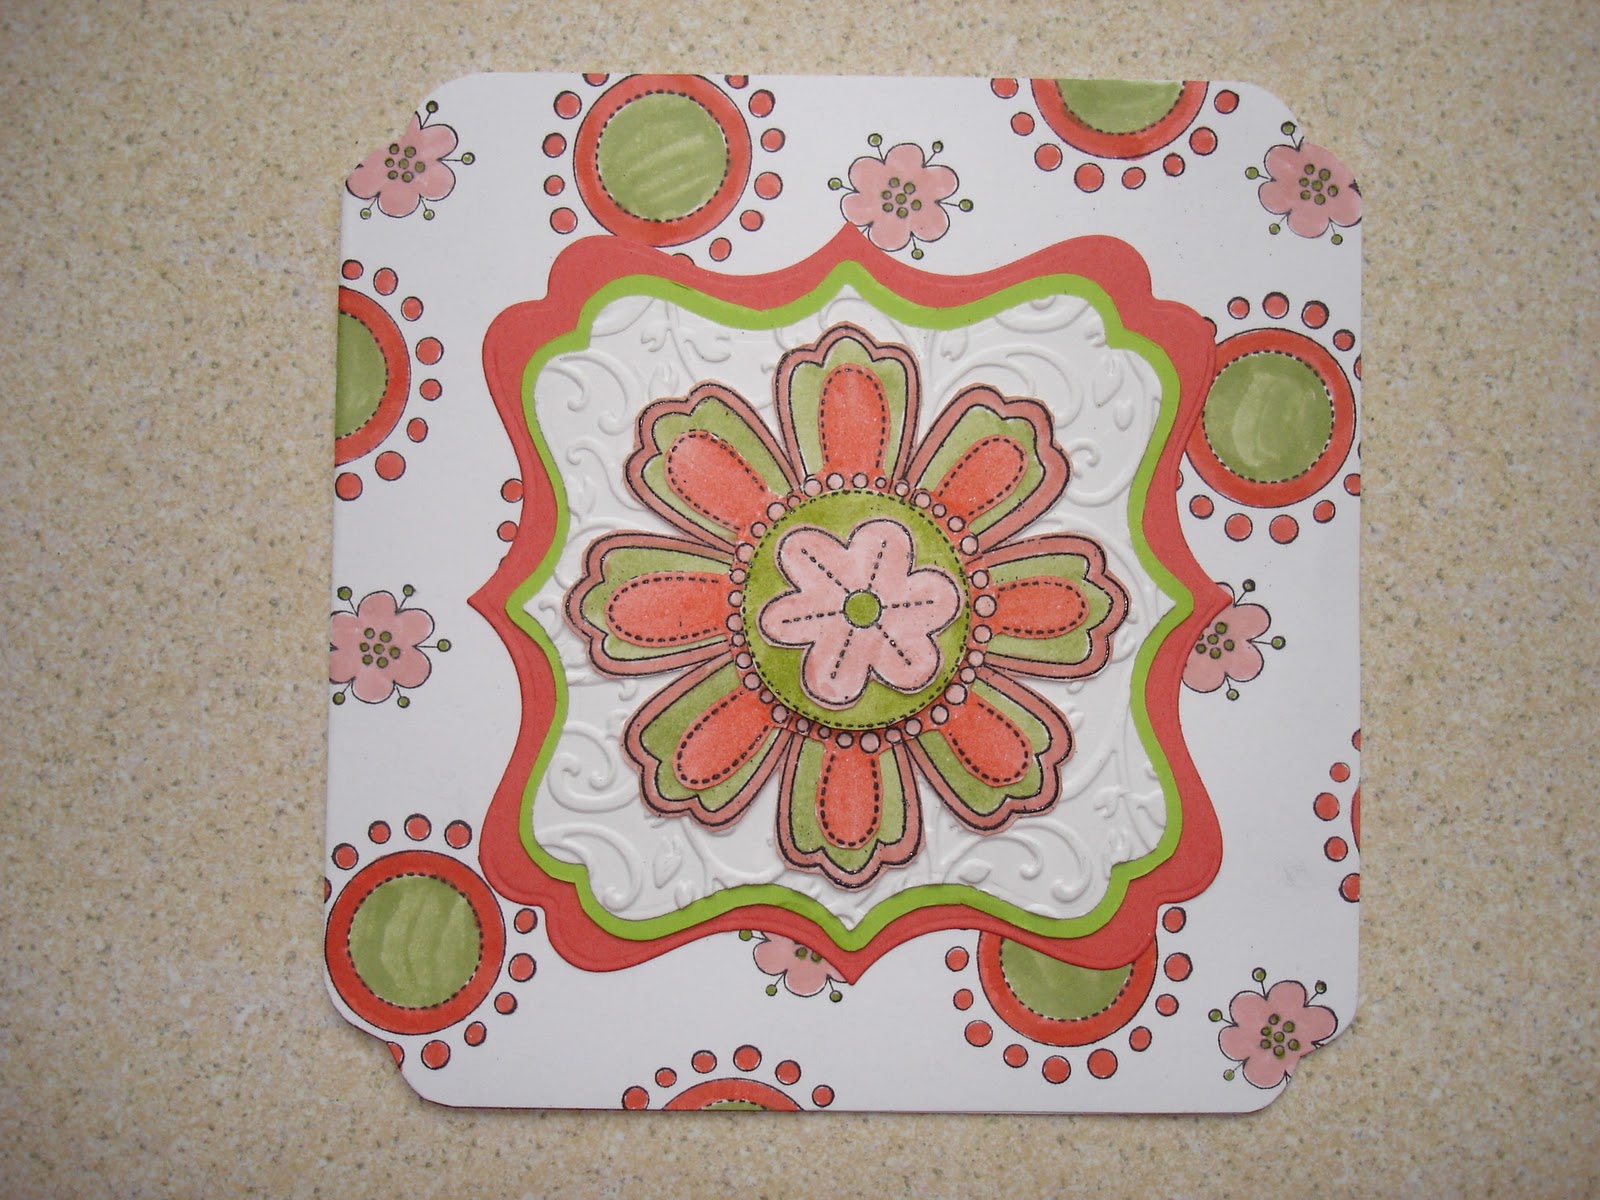
Card = Garden Green, Green Galore, Very Vanilla, Whisper White, and cream card base FMS
Stamps = Flower Soft and SU Basic Phrases
Inks = Pool Party, Bashful Blue, Certainly Celery, Sahara Sand, and Basic Black
Tools = Big Shot, Nestabilities, Budding Vine embossing folder, and Aqua Painter
Extras = 3D pads


That's it for today, Thanks for looking and I hope to be back tomorrow?


Sunday, 30 October 2011

Birthday wishes

Today , while watching the Grand Prix, I've made a card for the ColourQ #108 challenge where they have this photo for colour inspiration. The challenge ends at Noon so I hope I make it in time!!!


I've decided not to go with the Halloween theme, and have made a floral Birthday card instead.


Here it is


I stamped the large flower in black on peach and cream card, and then cut out the different segments before sticking them together with 3D pads for dimension. The same was done with the smaller flowers on yellow and cream card. The sentiment was stamped on cream card layered on peach card with some black ribbon behind it which was then tucked in behind the layers of black and cream card matts. The cream matt had been through the BS in an embossing folder. 


 Recipe :  Card = Basic Black, So Saffron, Daffodil Delight, Peach Parfait, and white card from my stash
Stamps = Playful Petals and Verve
Tools = Big Shot and Budding Vine embossing folder
Extras = Black ribbon and 3D pads


I'm off Trick and Treating later dressed as a Witch, and Nathan is going as a skeleton!!  I'll let you know how it goes.


Thanks for looking at my blog today, and I'd love it if you have time to leave a comment.

I'll be back soon


Sunday, 23 October 2011

Feeling Square??


This is the second post of the day, and I made a card for the Pals Paper Arts challenge #116 where they had this square card sketch.


I was again using my new stamps, and some of the smaller stamps made me think of the swinging 60's, so that was my starting point for the colour scheme.


Here is the finished item


Instead of straight lines on the squares I decided to use a labels nestabilitie. Using a square white card as the base I cut the nestabilities shape at the corners and then randomly stamped in black the circle and flower shape before colouring them in with SU markers. With the BS I cut three labels, coral, green, and white, and the later was put through in an embossing folder, and then all stuck in the center of the base card. I then stamped the large flower several times on white card, coloured them in, and cut out 4 different layers. The first two were stuck on the embossed label, and then the center circle and flower were stuck on with 3D pads to give dimension. As the background is so busy I decided not to put a sentiment on this card so it is useful for all occasions.


Recipe :  Card = Whisper White, Calypso Coral, and Pear Pizzazz
Stamps = Playful Petals
Inks = Black, Calypso Coral, Pear Pizzazz, Blushing Bride, and Lucky Limeade
Tools = Big Shot, Labels nestabilities, and Budding Vine embossing folder


Right, I'd better go and round up all the dogs toys before they get damp.

Hopefully I'll be back soon with some more creations.


Saturday, 15 October 2011

Not Halloween

Today I am entering my card into several challenges. 

The colours are from ColourQ #106, and the lay

 out from Mojo Monday challenge #210,  and over

at The Kraft Journal #40 they are looking for Die Cuts.


This colour pallet is not easy for us Brits that don't celebrate or send Halloween cards, but I thought I'd have a go anyway.

Here is my card


I started with some grey card which I put through the Big Shot in an embossing folder, and then sponged the raised pattern. I used a border punch on some black card, wrapped it with some grey ribbon and bow, and added it to the top of the grey card. A strip of black card separates the embossing from the plain card. I stamped the frame in orange on white card, and added some two step roses and leaves, with a black sentiment, and stuck it down on 3D pads. The main feature is the yellow die cut butterfly in the center.

 
Recipe : Card = Basic Black, Basic Gray, Whisper White, and Crushed Curry
Stamps = Baby Blossoms and Verve
Inks = Basic Black, Crushed Curry, and Only Orange
Tools = Big Shot, Martha Stewart Punch, and Marianne Butterfly die
Extras = Ribbon and 3D pads


This morning my friend Jacqueline held a Stampin Up party, and our demonstrator, Paula, let us have a play with some of the new stuff from the latest catalogue, and this is the card we made.

I've ordered more than I should have, but crafting is my only vice ( honestly it is!!!) and I can't wait till it all arrives.

Thanks for looking at my blog today, and I hope you can come back again


Wednesday, 3 August 2011

Green Monday

Well I've been busy again over the last few days, but I managed to find some time to make my card for the Mojo Monday challenge who have this sketch this week.


I started with a cream card from my stash and layered it with some SU Gable Green card that had been put through the BS in a Cottage Floral embossing folder. I then cut a rectangle in Garden Green and put that in the BS with a Budding Vine embossing folder. I cut 3 lengths of green ribbon from my stash and staggered them hanging from the bottom of the rectangle.
While the BS was on the table, I cut a Yo Yo Yellow SB scallop circle and 2 shapeabilities which were stuck on the Garden Green rectangle. I then stamped the flowers from Itty Bitty Buds onto a circle of Whisper White in YYYellow, Crushed Curry, and GGreen and placed it in the center of the scalloped circle. Two of the flowers were stamped on WWhite, cut out and then stuck down to give them a slightly raised and over lapping  look.
The finishing touch was the sentiment from Happy Moments stamped in GGreen onto WWhite card layered on some Garden Green.

I was pleased with the green and yellow combo, what do you think?


Recipe : Card : SU Garden Green, Gable Green, Yo Yo Yellow, Whisper White, and cream card from my stash
Inks : Yo Yo Yellow, Crushed Curry, Gable Green
Stamps : Itty Bitty Buds and Happy Moments
Tools : Big Shot, Spellbinders nestabilities and shapeabilities, and Craft Concepts embossing folders
Extras : green ribbon from my stash

I'm off to spend the day with Nathan and my sister tomorrow, but I hope to be back crafting in a day or two.

Thanks very much for dropping by, I hope you liked what I'd made.

Monday, 25 July 2011

Whimsical Best Wishes

This is the second card I made yesterday while vegging out on the sofa.

The base for my card is the sketch challenge over at Pals Paper Arts.

As I had the SU Whimsical Wings set out on the table I decided to use the bird as my main image.

I used my BS to cut some large and small labels in Whisper White and  Tempting Turquoise. The bird was stamped on the large WWhite in TTurquoise and Certainly Celery,but the turquoise didn't come out very well ( I think my pad is drying up as it had been put away upside down!! that will teach me to rush to put things away) so I coloured over it with a Bermuda Bay marker.I used the Stamp-a-ma-jig to add the flourished tail feathers. The Woodware sentiment was added in CCelery in the space where the flower should have been. I then stamped the flower from the bird stamp onto the small WWhite label and again used the BBay marker. A 1 1/2" strip of TTurquoise was then put through the BS in a Budding Vine embossing folder and stuck along the right hand edge of a 6" square of WWhite. The bird label was added also towards the right hand side of the card and the flower label stuck to the left hand side with 3D pads.


As the PPA challenge ends tomorrow I've had to post it tonight as I'm going to be busy of the next few days and don't know when I'll get chance to do any more.

Recipe :
Card : SU Whisper White, Tempting Turquoise
Ink : Tempting Turquoise, Certainly Celery, Bermuda Bay
Stamps : Whimsical Wings, Woodware
Others : Big Shot, SB nestabilities labels, Budding Vine embossing folder, 3D pads, Stamp-a-ma-jig

Thanks for dropping by and please leave a comment if you have the time.


Friday, 22 July 2011

Simply Stampin' Garden Silhouettes

Hello thanks for dropping by

For this Simply Stampin Challenge I put the Growing Green away and got out my Garden Silhouettes.

First I stamped the blossom branch in Certainly Celery and Melon Mambo onto Whisper White and cut it out.I then used a MS punch on some Pink Passion for the frill and cut 2 strips of CCelery and put them through the BS in a Budding Vine embossing folder before crossing them over at right angles to each other, and stuck down on the 6" square WWhite card. Some WWhite and PPassion were also put in the BS with a labels nestabilitie to form a flower vase for the blossom branch. The Bliss butterfly was stamped in MMambo and cut out and stuck in 3D so it is hovering over the flowers.The finishing touch is the Woodware sentiment stamped in MMambo.

What do you think? I've turned to one of my favourite colour combo's of green and pink.


Well that's it for tonight,I'll be back tomorrow when I become a craft couch potato infront of the Grand Prix ( did I mention I'm a fan??!!!???)


Hope to see you again,and thank you if you decide to leave me your comments.